NavGrid Asset
Assets → Create → PlayMaker → NavGrid → NavGrid
A NavGrid is a reusable asset that stores the walkable layout of a level.
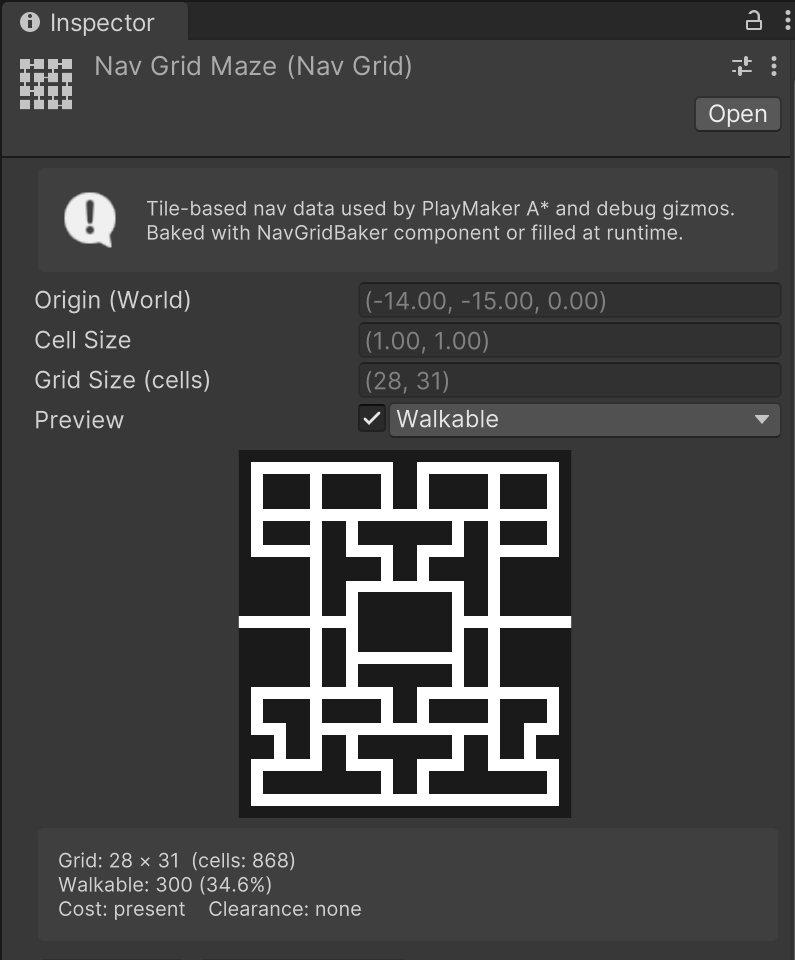
The NavGrid tells PlayMaker which cells can be walked on, how they connect, and how expensive they are to cross. Agents use this information to move, pathfind, and make navigation decisions.
You can think of a NavGrid as a “navigation map” for 2D worlds, tilemaps, mazes, and procedural levels.
What a NavGrid Is Used For
A NavGrid helps characters:
- Move through a world one cell at a time
- Find paths using A* (Move To Target, Move To Position)
- Steer around obstacles
- Avoid dangerous or costly tiles
- Follow smoothed or optimized routes
Once created, a NavGrid can be shared across many characters and many FSMs.
How NavGrids Are Created
NavGrids can be created two ways:
Bake in the Editor
Use the NavGrid Baker to convert Tilemaps into a walkable grid:
- Choose floor and wall layers
- Bake the grid
- Save it as a NavGrid asset
This is the most common workflow for tile-based levels.
Build at Runtime
If your level is generated dynamically, you can use actions to:
- Build from Tilemaps
- Apply Tile Cost Profiles
- Prune unreachable areas
This is great for roguelikes or procedural dungeons.
What the NavGrid Stores
A NavGrid asset contains everything the NavGridAgent needs:
Walkable Cells
Which cells can be walked on and which are blocked.
Movement Costs
Some cells can be marked as “more expensive” to move through. Agents will naturally avoid high-cost areas.
Examples:
- Mud or slow zones
- Traps
- Water
- High-ground or preferred paths
Clearance (optional)
Some grids also store how “tight” each cell is. This helps agents avoid narrow spaces if they are too large.
Orientation (for world mapping)
The NavGrid knows how it lines up with the world so agents know where each cell is in 3D space. This happens automatically when you bake from Tilemaps.
Debug Settings
The NavGrid also stores colors and styles for:
- Path previews
- Cell overlays
- Cost visualization
This helps you understand why agents move the way they do.
Using a NavGrid
1. Create or Bake a NavGrid Asset
Either through the NavGrid Baker or via actions.
2. Add a NavGridAgent to a GameObject
Assign the NavGrid asset in the inspector.
3. Use Actions to Move
For example:
- Move To Target
- Move To Position
- Steer Towards Position
- Follow Path
PlayMaker uses the NavGrid data to choose the best route.
When to Use NavGrids
NavGrids are ideal for:
- Tilemap-based levels
- 2D top-down worlds
- Grid-based puzzle games
- Roguelikes and procedural dungeons
- Pathfinding in mazes
- NPCs that need consistent, predictable motion
If your world is built from tiles, a NavGrid is usually the best navigation option.